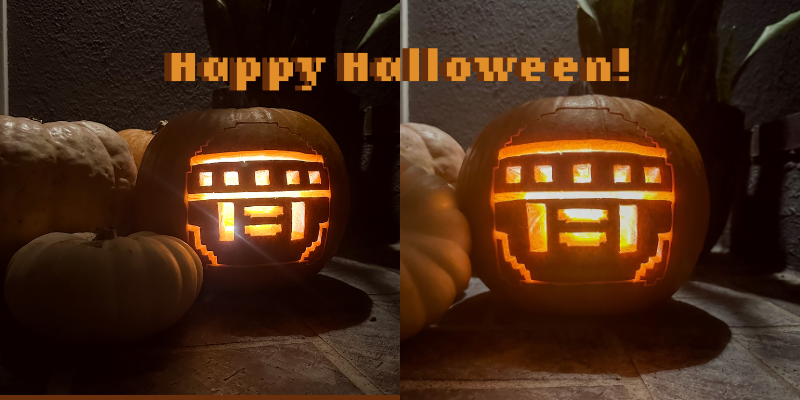
We’re getting in the Halloween spirit with a custom Evo stencil for pumpkin carving! This is a great activity to do in the classroom or at home with a supervising adult.
Follow these steps to create an Evo jack-o-lantern:
- Make sure to cover the area you’ll be carving the pumpkin in with paper towels, newspaper, or a large garbage bag. It can get a little messy!
- Cut a lid into the top of the pumpkin. We recommend adding in a little notch so it is easy to remember how to put the lid back on and where it goes.
- Scoop out the inside of the pumpkin. If you want, you can save the seeds and bake them with your favorite seasoning for a tasty snack!
- Now this is when it gets fun, take the stencil and tape it into place on the pumpkin. With your pumpkin carving kit (we used this pumpkin carving kit), use the hole poking tool to outline the parts that need to be cut out and outlined.
- Once you have it outlined with the poking tool, take a sharpie and draw out what needs to be cut out and the outline of Evo.
- Now it’s time to carve! Take the pumpkin carving tool and start carving your pumpkin, ensuring you take your time and be cautious using the tools.
- This next part is where you can get creative! Where it says “outline” you can choose to leave the sharpie or you can lightly carve the pumpkin so the outline shows but doesn’t go all the way through the pumpkin, the choice is yours!
- And that’s it! Decorate your entryway or classroom with the perfect STEAM-themed pumpkin.


